
Purpose
A namespace can have multiple API keys. Each key has an expiry date after which it is automatically removed.
Before you begin
-
You have at least one namespace.
-
You have a secure location to store the generated API key.
Generate a Namespace API Key
Procedure
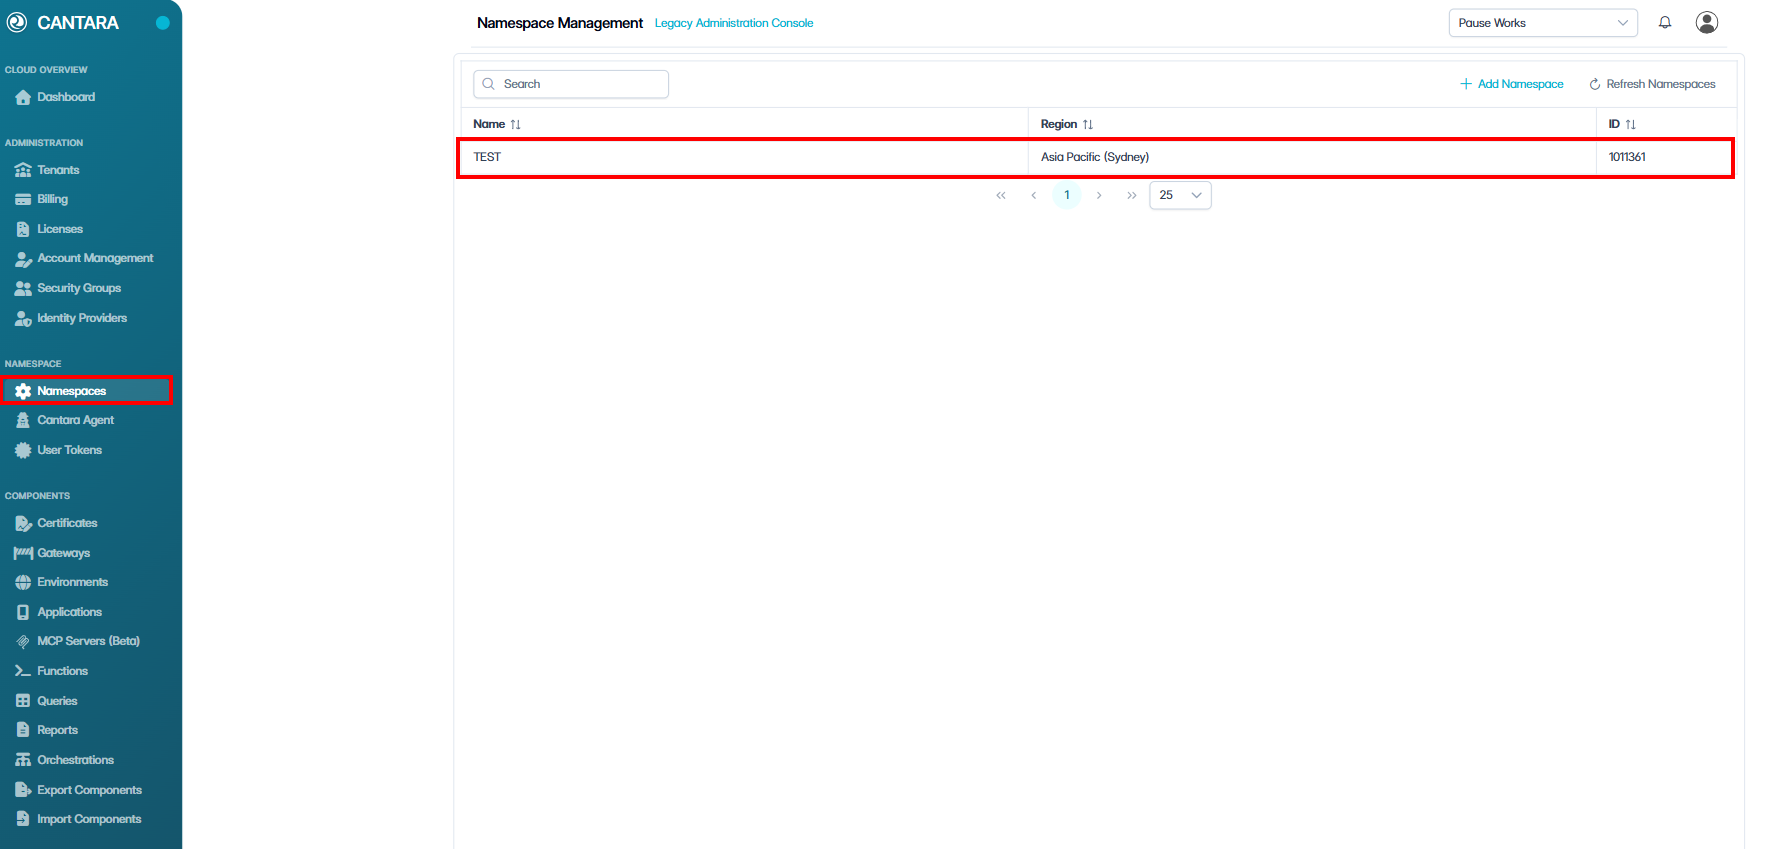
To generate a namespace API key:
-
Navigate to Namespaces.
The Namespace Management screen opens with a list of existing namespaces.
-
Select the namespace.
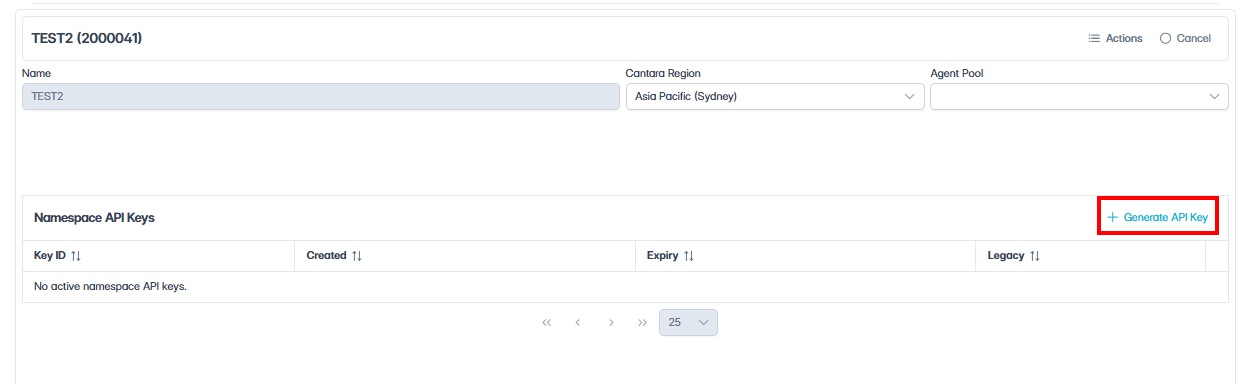
The selected namespace details are displayed.
-
Click + Generate API Key.
-
(Optional) Name — Enter a name for the key, such as the calling application or developer.
The name is optional and helps you identify, manage, or remove keys in the list later. If left blank, the randomly generated key is used as its name.
-
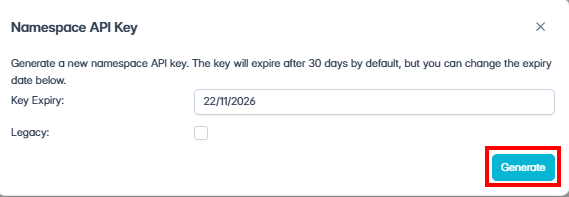
Set the Expiry Date.
-
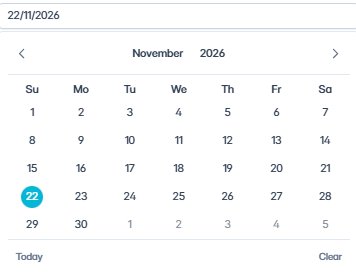
The expiry date defaults to one month from the current date.
-
To select a different date, click the date field and choose a date using the calendar.
-
Click Generate.
-
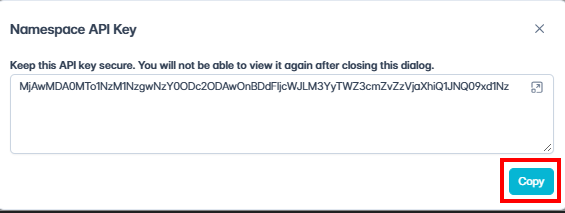
Copy the generated API Key.
Warning: The API key is displayed only once. Copy and store it securely before closing the dialog.

Outcome: The API key appears in the Namespace API Keys list underneath the namespace details. The list includes columns for Name, Key ID, Created, and Expiry. Use the controls at the top of the list to locate an API key:
-
Search — Enter a keyword to filter API keys by name or key ID.
-
Sort — Select a column header to sort the list.
Delete a Namespace API Key
Procedure
To delete a namespace API key:
-
Navigate to Namespaces.
The Namespace Management screen opens with a list of existing namespaces.
-
Select the namespace.

-
In the Namespace API Keys list, use the search field to find the API key you want to delete.
-
Click the trash icon next to the API key.
-
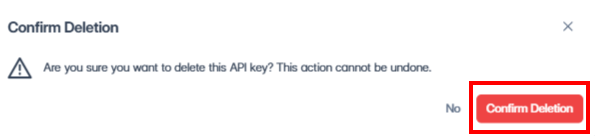
Confirm the deletion in the dialog.
Outcome: The API key is removed from the namespace.