Exclusions are used to prevent the execution of scheduled groups during defined periods of time. For example, you may wish to prevent a particular group from running whilst month end processes are being completed.
To add an exclusion set
-
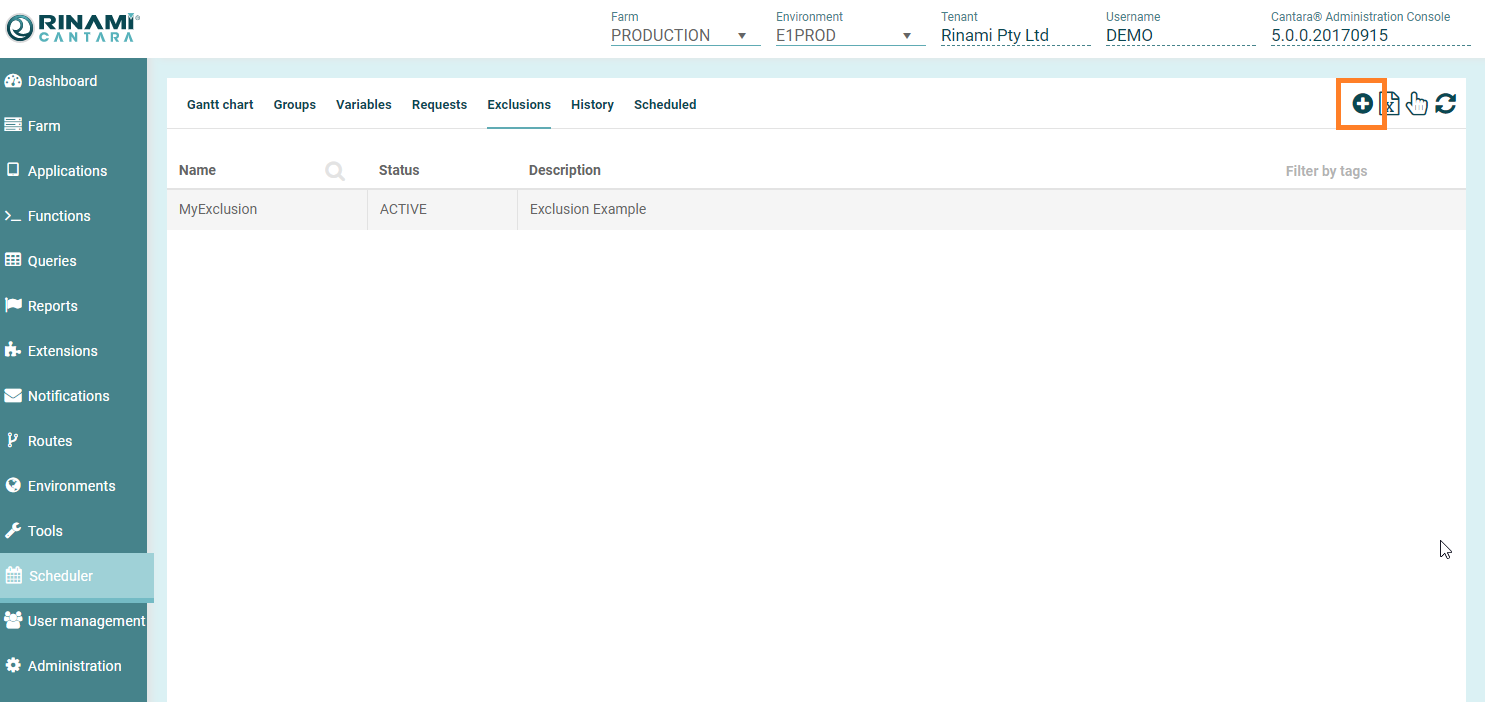
Click the Scheduler node in the navigation panel.
-
Click Exclusions.
-
Click the Add button.
-
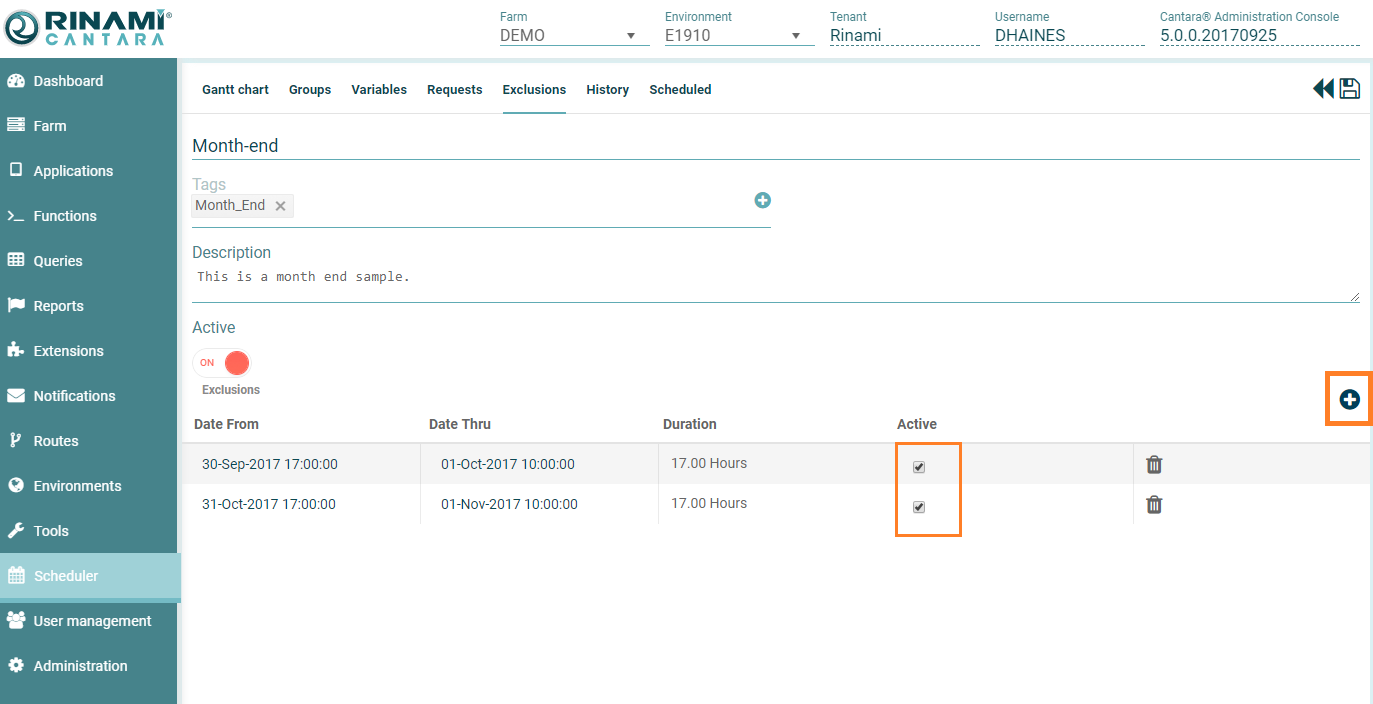
Enter a Name for the set of exclusion periods. The value for this field can be a maximum of 40 characters (no spaces). Valid characters include numbers, letters and dash.
-
Provide a Description of the exclusion set to provide further details.
-
Check the Active option to ensure that the exclusion periods are applied. You can deactivate an exclusion set if required.
-
You can add Tags to assist with management of definitions. You can select from the existing tags or add a new tag by pressing the Add button to the right of the tags area, then entering the new tag name.
To add an exclusion period
-
Click the Add button on the right hand side above the grid.
-
Enter the Date From and Date Thru of the exclusion period. These dates are inclusive so any groups that are equal or between these ranges will not execute.
-
Check the Active option on each line to ensure that the exclusion period is applied.
-
You can add as many exclusion periods as are required.
-
To save your changes click the Save button at the top.
To delete an exclusion period
-
Press the Trash Can icon next to the line you wish to remove.

To delete an exclusion set
-
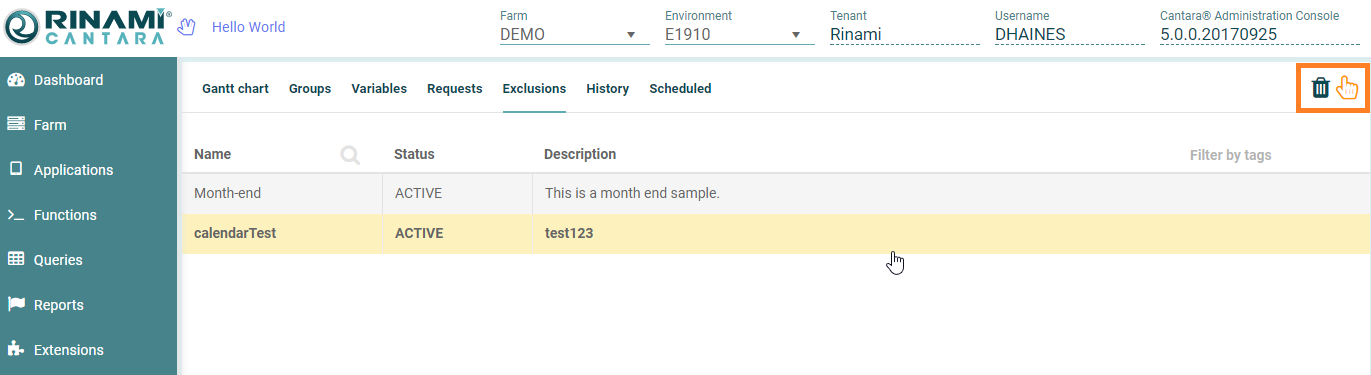
Click the Scheduler node in the navigation panel.
-
Click the Exclusions node.
-
Click the Hand selection icon in the top right of the screen.
-
Select the line you wish to remove.
-
Click the Trash Can icon to remove the calendar.