Purpose
This guide describes how to configure a generic SAML Identity Provider and connect it to Cantara for user authentication. It applies to any Identity Provider that supports SAML, regardless of vendor.
This guide covers two steps: registering an application in your Identity Provider, then configuring SAML in Cantara.
To automatically provision users and groups from your Identity Provider after SSO is configured, see User Provisioning.
Before you begin
-
Permission to create an application in your Identity Provider.
-
Administration access to Cantara Administration Console.
Tip: Coordinate with your Identity Provider administrator before you begin. You may need values from both Cantara and your Identity Provider to complete the configuration.
Step 1: Register an Application in Your Identity Provider
Purpose
To register an application in your IdP that can be used to authenticate users to Cantara.
Procedure
Note: For exact steps on how to register an application in your IdP, see your Identity Provider’s documentation.
-
In your Identity Provider, register a new SAML application for Cantara.
-
Configure the application using the following values provided by Cantara:
|
Field |
Value/Setting |
|---|---|
|
Application Name |
Display name for the app (e.g., Cantara) |
|
Entity ID |
https://console.cantara.cloud/saml |
|
ACS URL |
https://console.cantara.cloud/saml/acs |
|
NameID Format |
preferred_username or email |
-
Save the application.
Step 2: Configure SAML in Cantara
Purpose
To configure Cantara to authenticate users via the SAML identity provider.
Procedure
-
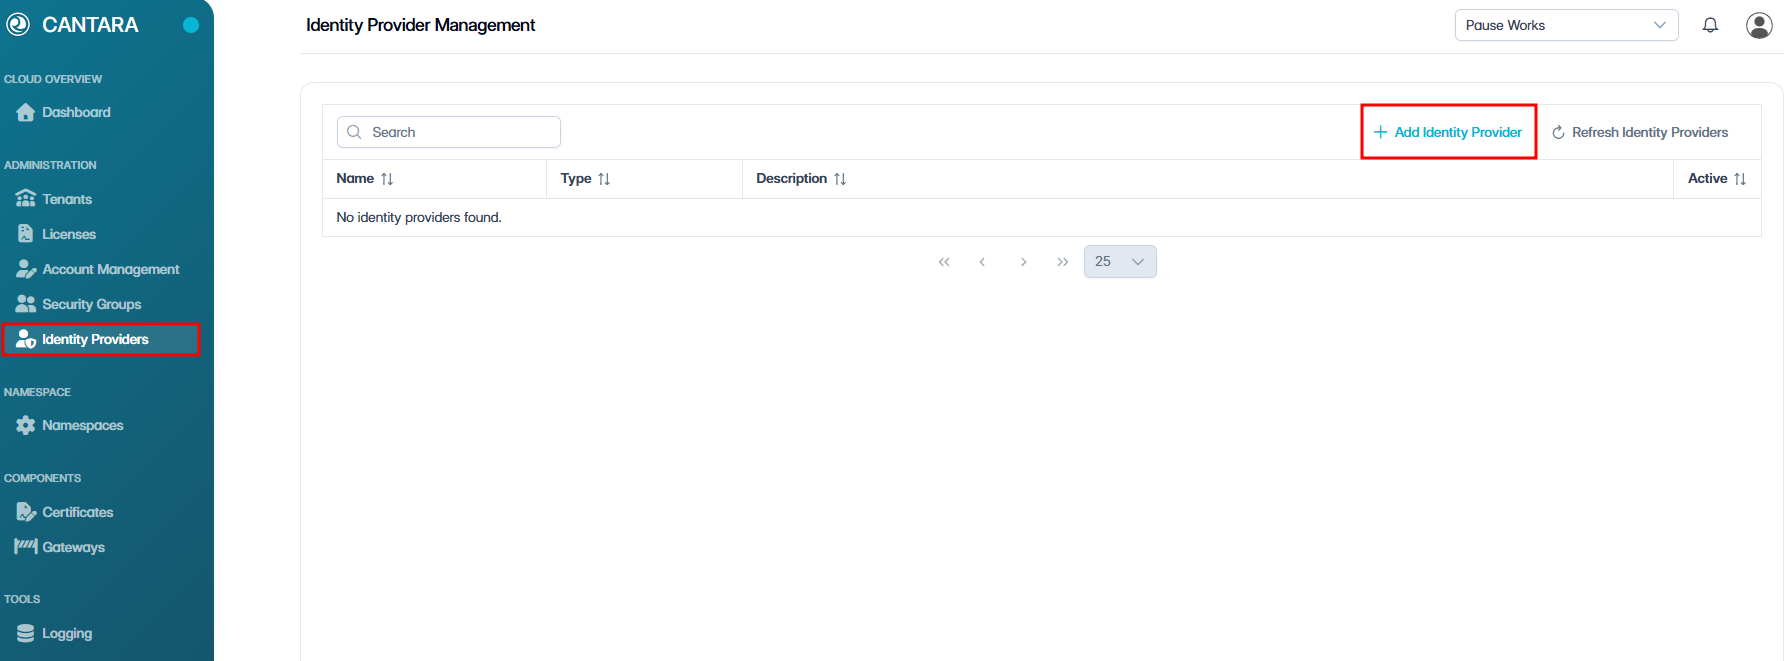
In Cantara, navigate to Identity Providers.
-
Click + Add Identity Provider.
-
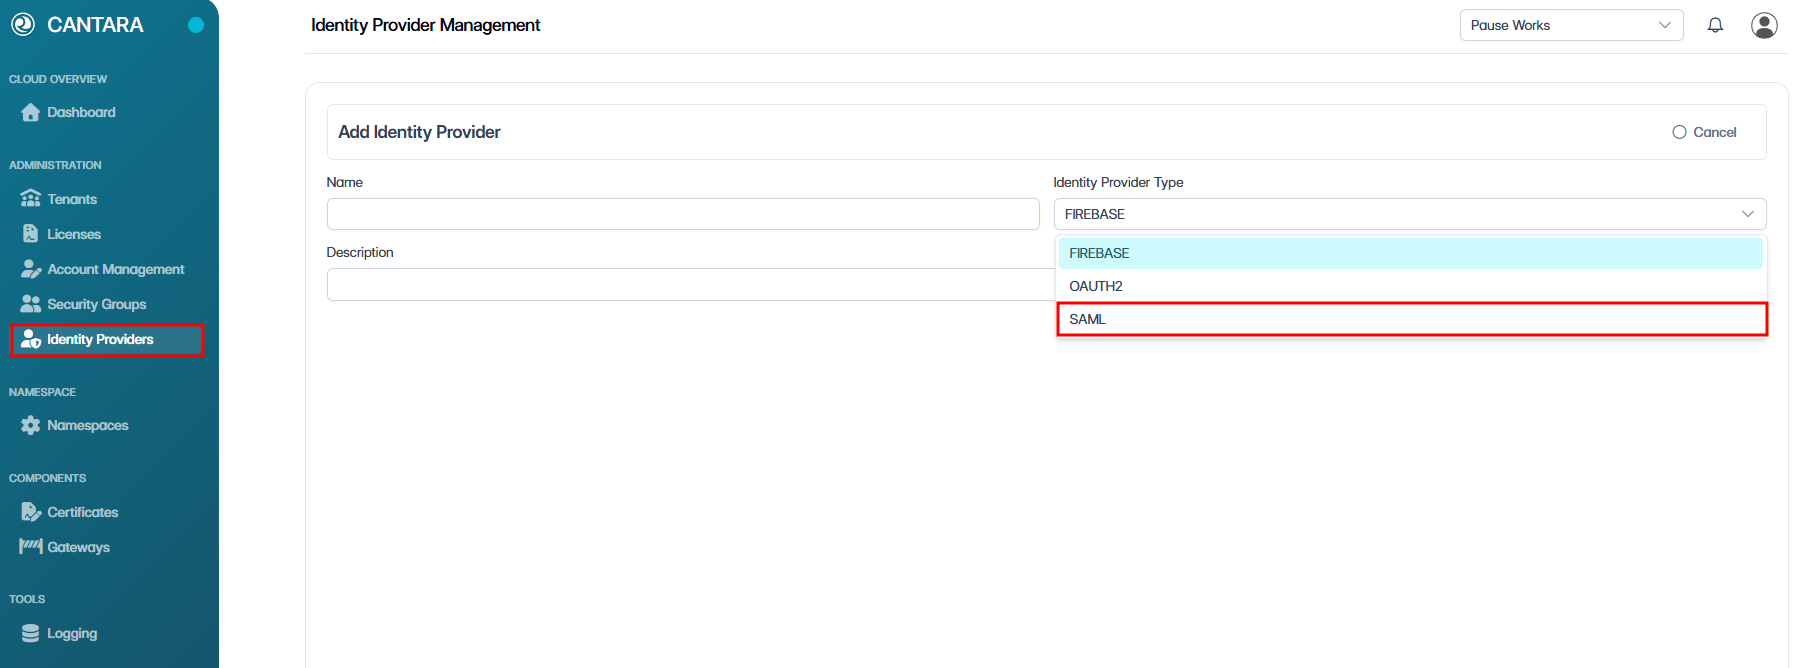
Select SAML as the Identity Provider type.
-
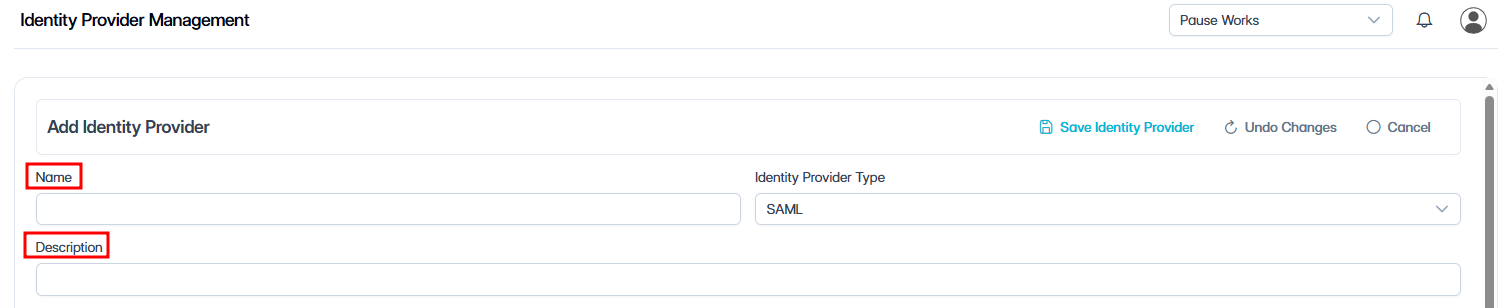
Enter a name and description for your identity provider.
-
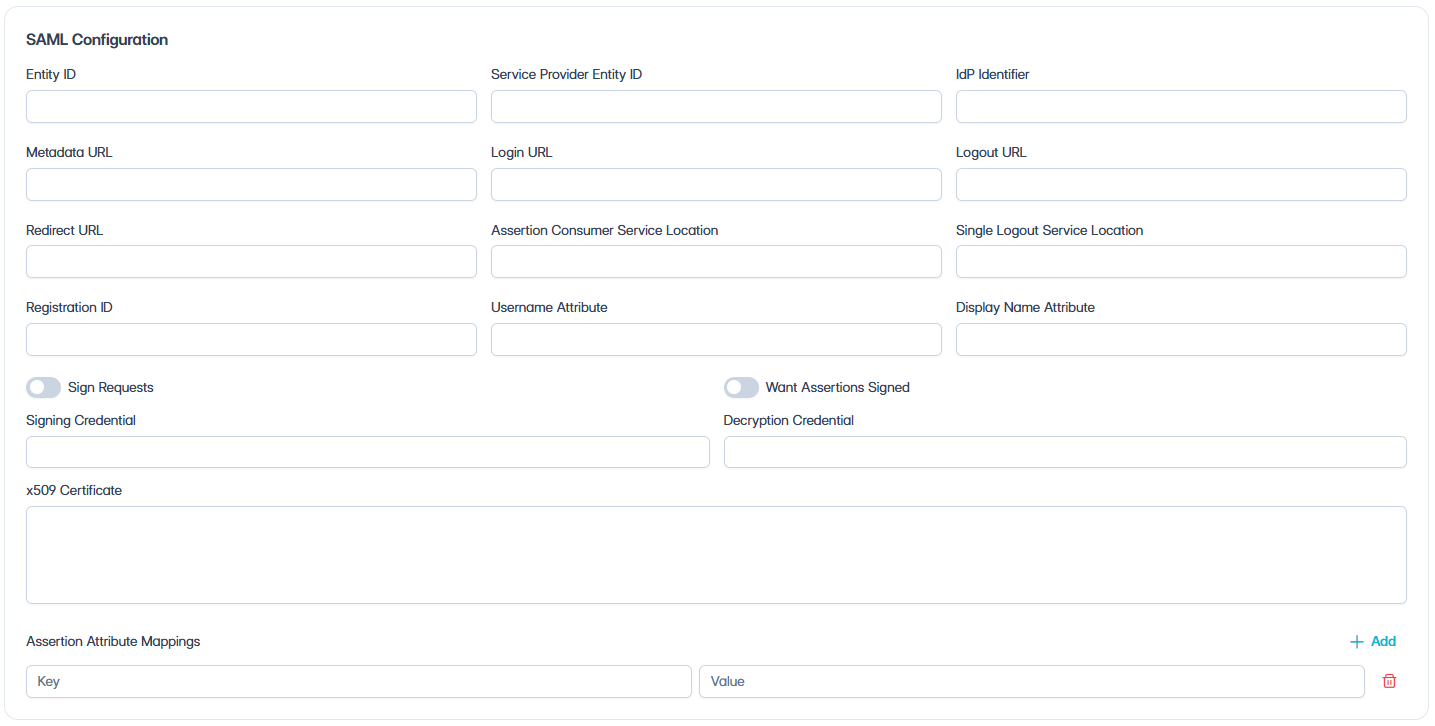
Enter the following SAML Configuration details:
|
Field |
Value / Setting |
|---|---|
|
Entity ID |
Enter the Entity ID for the SAML configuration. |
|
Service Provider Entity ID |
Service Provider Entity ID used by Cantara. |
|
IdP Identifier |
Value provided by your IdP. |
|
Metadata URL |
Endpoint from your IdP. Enter this first to auto-populate the remaining SAML fields where supported. |
|
Login URL |
Auto populated from the metadata URL, or enter the IdP SSO/login URL manually. |
|
Logout URL |
Auto populated from the metadata URL, or enter the IdP logout URL manually if required. |
|
Redirect URL |
Redirect URL used for the SAML authentication flow. |
|
ACS Location |
Assertion Consumer Service location for receiving SAML responses. |
|
SLO Location |
Single Logout Service location used for SAML logout. |
|
Registration ID |
Registration ID for the SAML identity provider configuration. |
|
Username Attribute |
preferred_username or email. |
|
Display Name Attribute |
Attribute used for the user display name, for example name. |
|
Sign Requests |
Enable to sign SAML requests. Disable to send requests unsigned. |
|
Want Assertions Signed |
Enable to require signed SAML assertions. Disable to allow unsigned assertions. |
|
Signing Credential |
Signing credential used to sign SAML requests, if required. |
|
Decryption Credential |
Decryption credential used to decrypt SAML responses, if required. |
|
x509 Certificate |
Auto populated from the metadata URL, or paste the certificate provided by your IdP. |
|
Assertion Attribute Mappings |
Click + Add to add an assertion attribute mapping. Enter a Key and Value for each mapping. |

-
Click Save Identity Provider.
A confirmation popup will appear: “Identity Provider saved”.
The Identity Provider is now created.
-
Click Activate.
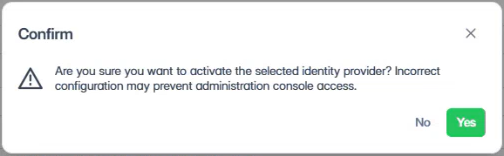
A confirmation dialog appears:
“Are you sure you want to activate the selected identity provider? Incorrect configuration may prevent administration console access.”
-
Click Yes to confirm the activation.
Once active, users can log in via your identity provider.
Outcome
Once configured and activated, users authenticate via the IdP, and Cantara validates their identity using SAML.
Note: First-Time User Prompt
Users may be prompted to consent to sharing basic profile information during their first login.
In some Identity Providers, administrators can grant consent on behalf of users. This behaviour varies depending on configuration.
What's next?
With SAML configured, users can now sign in to Cantara using SSO.
-
To automatically provision users and groups from your Identity Provider, see User Provisioning.
-
To assign access permissions without User Provisioning, see User Permissions.