Overview
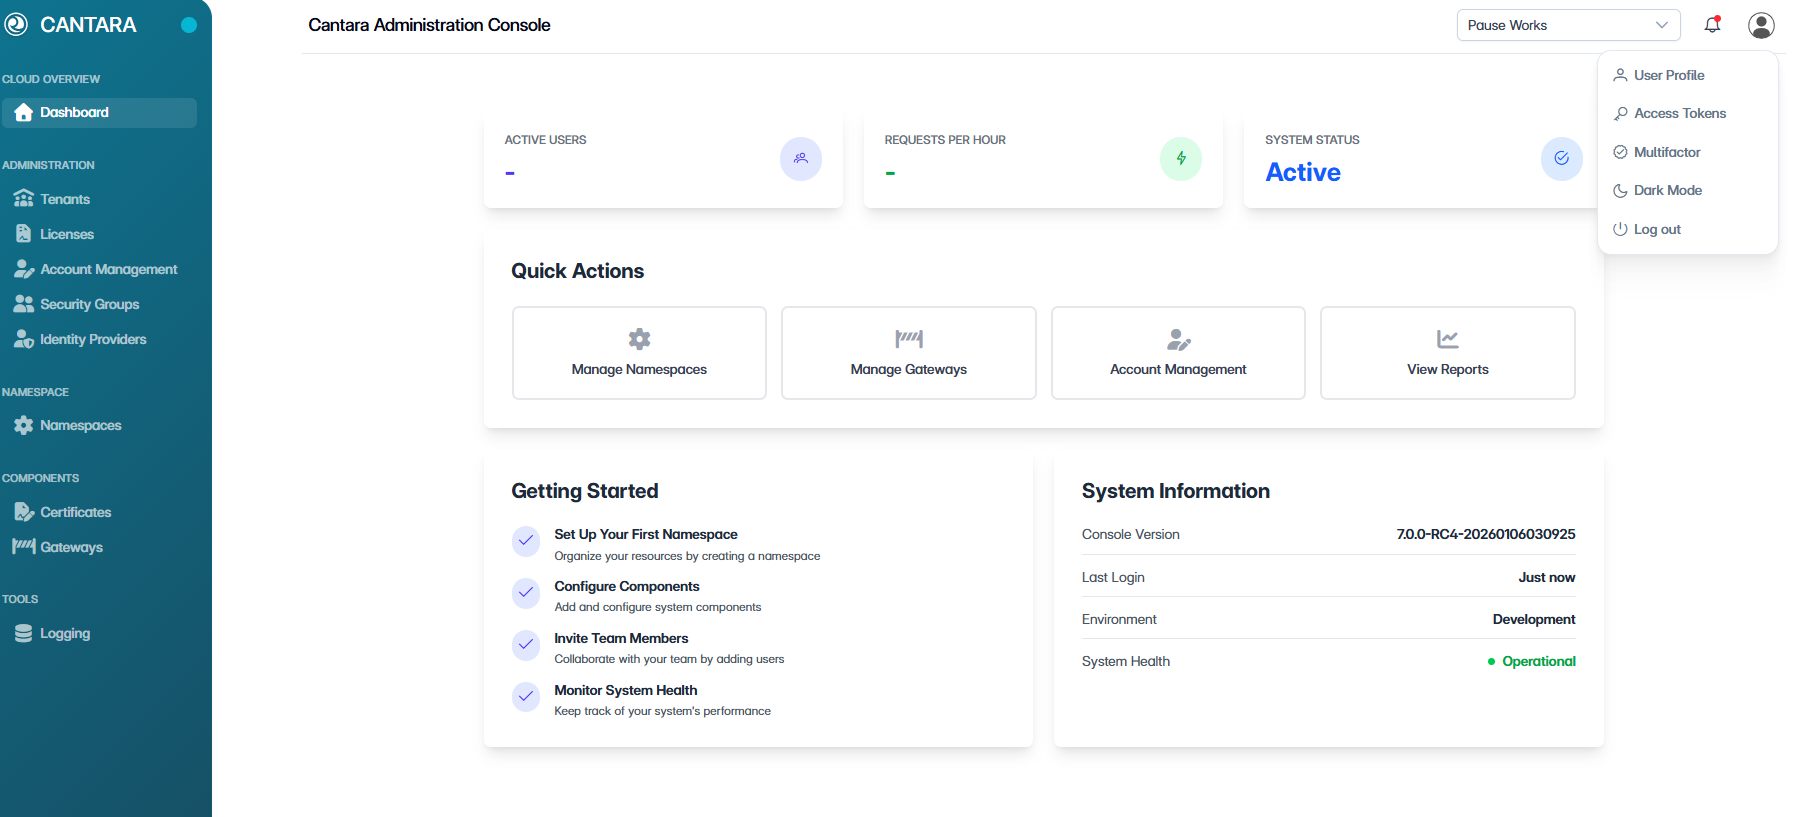
After completing tenant registration, you are automatically logged in to the Cantara Administration Console. This is your central hub for tenant configuration and management.
This section gives you a quick overview of what to expect when you first land in the console and where to go next.
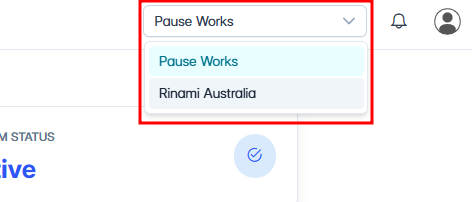
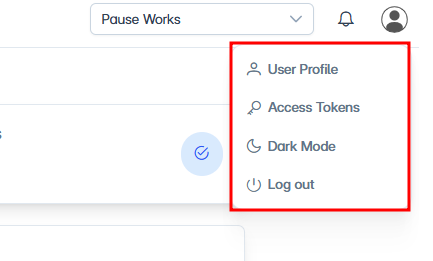
The top of the console includes the Tenant Selector, which shows the tenant you are currently working in and lets you switch tenants if you have access to more than one. The User Menu gives you access to your profile options and sign-out controls.
Tip: If you have access to more than one tenant, check the tenant selector before making changes so you are working in the correct tenant.
|
|
|---|
Dashboard
The dashboard provides an at-a-glance view of your tenant status and quick access to configuration areas such as account management, security groups, billing, licenses, namespaces, and gateways.
For details of all dashboard functionality, see Administration Guide – Dashboard.
Navigation panel
The navigation panel on the left side of the console provides access to all functional areas. The key areas for initial system setup are:
|
Menu item |
Description |
|---|---|
|
Account Management |
Manage who can access the console, including adding, enabling, and disabling user accounts. |
|
Security Groups |
Create security groups, assign Security Topics to define permissions, and manage group membership. |
|
Billing |
Manage your tenant's billing profile and payment details. |
|
Licenses |
View and manage license allocations for your tenant. |
|
Namespaces |
Create and configure namespaces to isolate environments, such as development, testing, and production, within a tenant. |
|
Gateways |
Configure secure connections between Cantara and your JD Edwards environment. |
What’s next?
Now that you are in the console, the next step is to understand billing and licenses. See Billing and Licenses.