Purpose
To create and configure a namespace in the Cantara Administration Console.
Before you begin
-
You must have permissions to manage namespaces.
-
A tenant must already exist.
-
A hosting region has been identified for the environment.
Procedure
To add a Namespace:
-
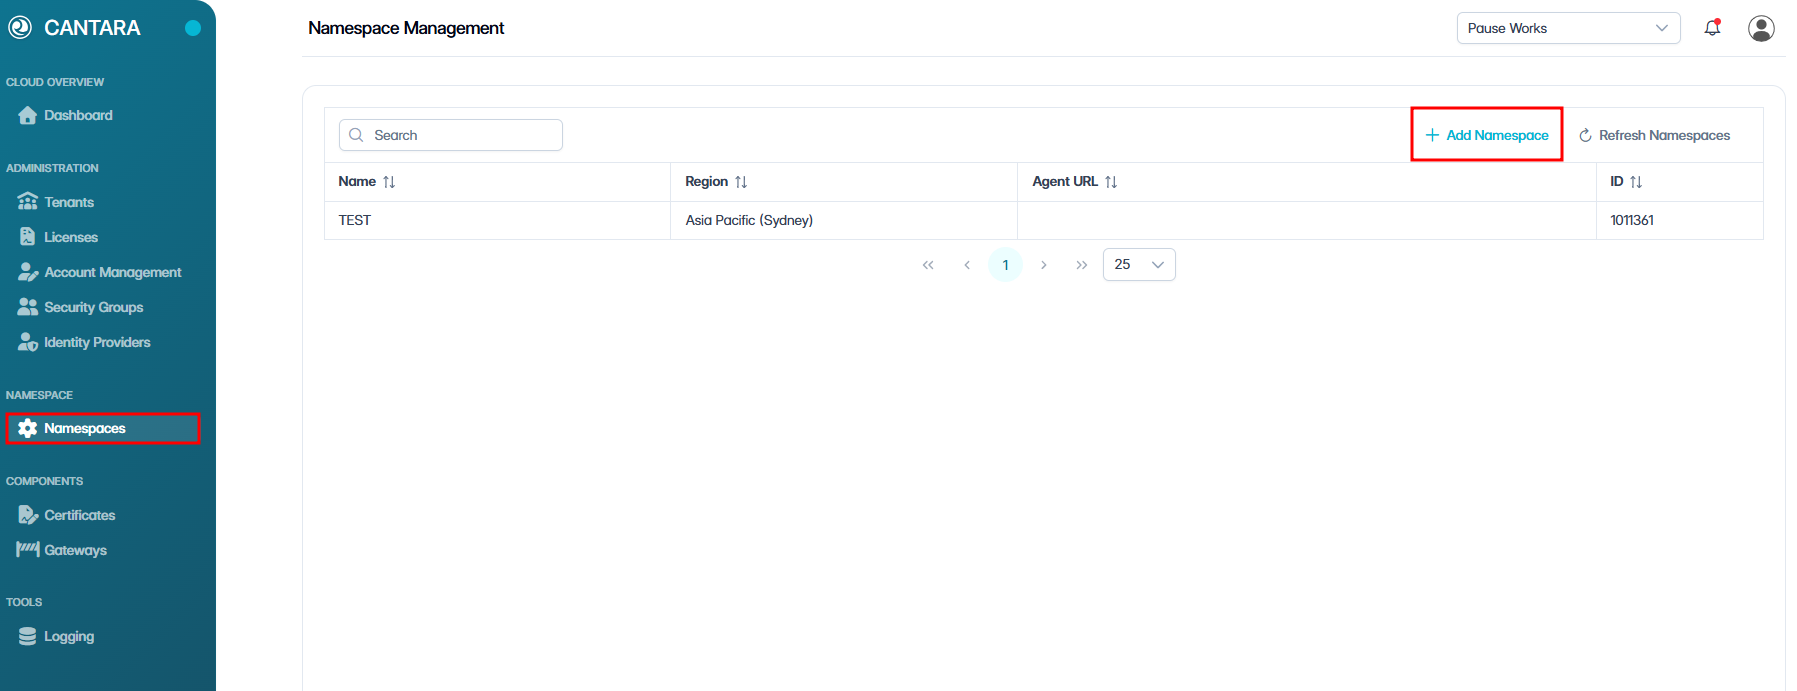
Navigate to Namespaces.
The Namespace Management screen opens, showing a list of all existing namespaces along with their details, such as Name and Region, Agent URL and ID.
-
Click + Add Namespace.
-
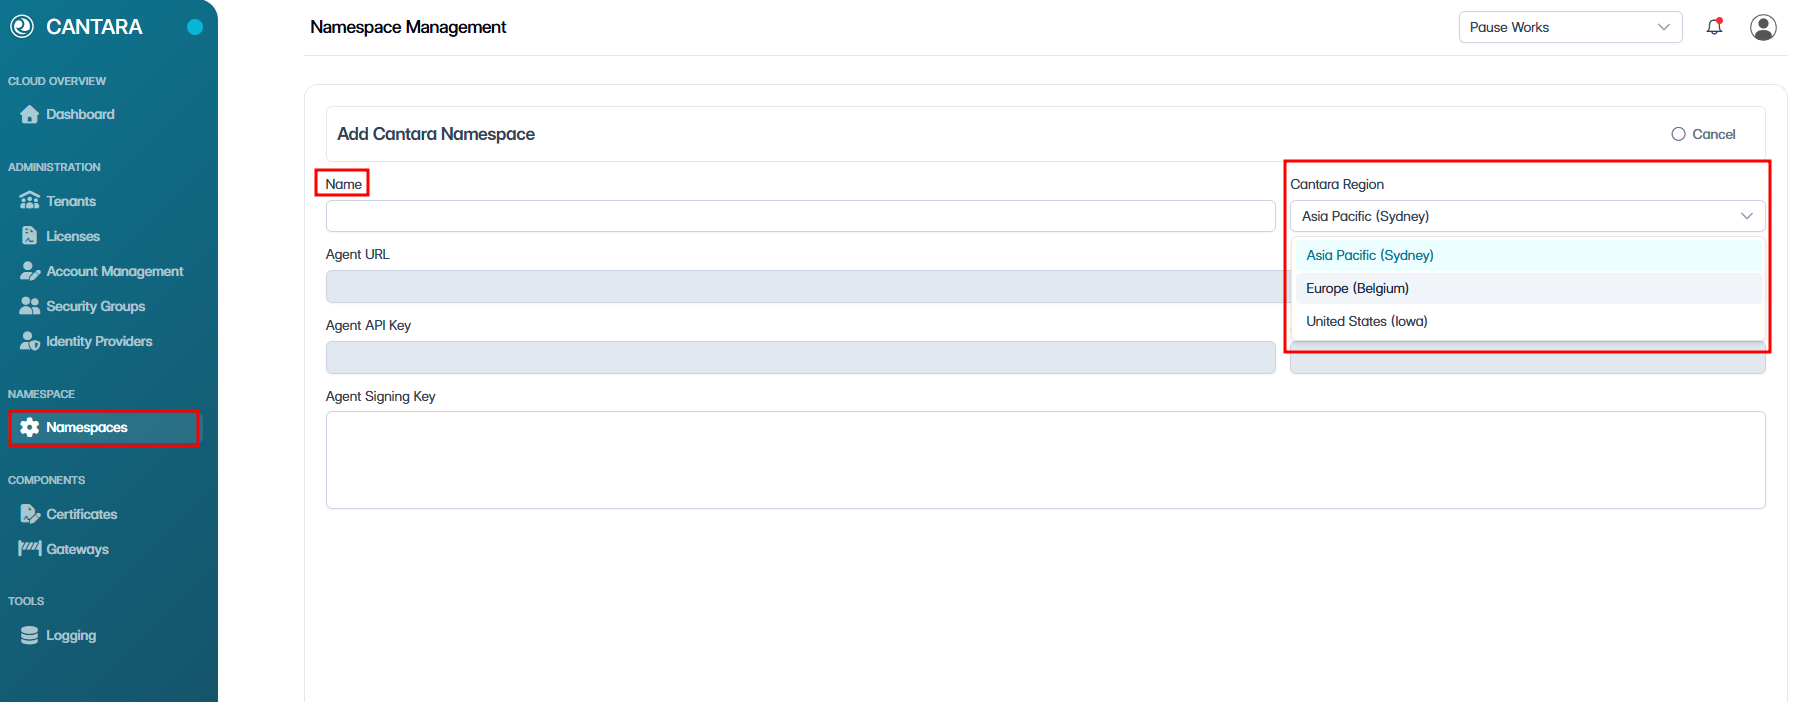
Enter a Name.
-
The name must be unique.
-
The name must follow naming rules:
-
Allowed: Letters, numbers, underscores
_, dashes- -
Not allowed: Spaces or other special characters
-
-
-
Select a Region.
-
The region defaults to the tenant’s assigned region.
-
The region can be changed for performance or data sovereignty requirements.
-
-
For performance, select a region close to your environment and ensure it meets organisational data sovereignty requirements.
-
A namespace stores only configuration and logs for the system; it does not store any customer business data.

-
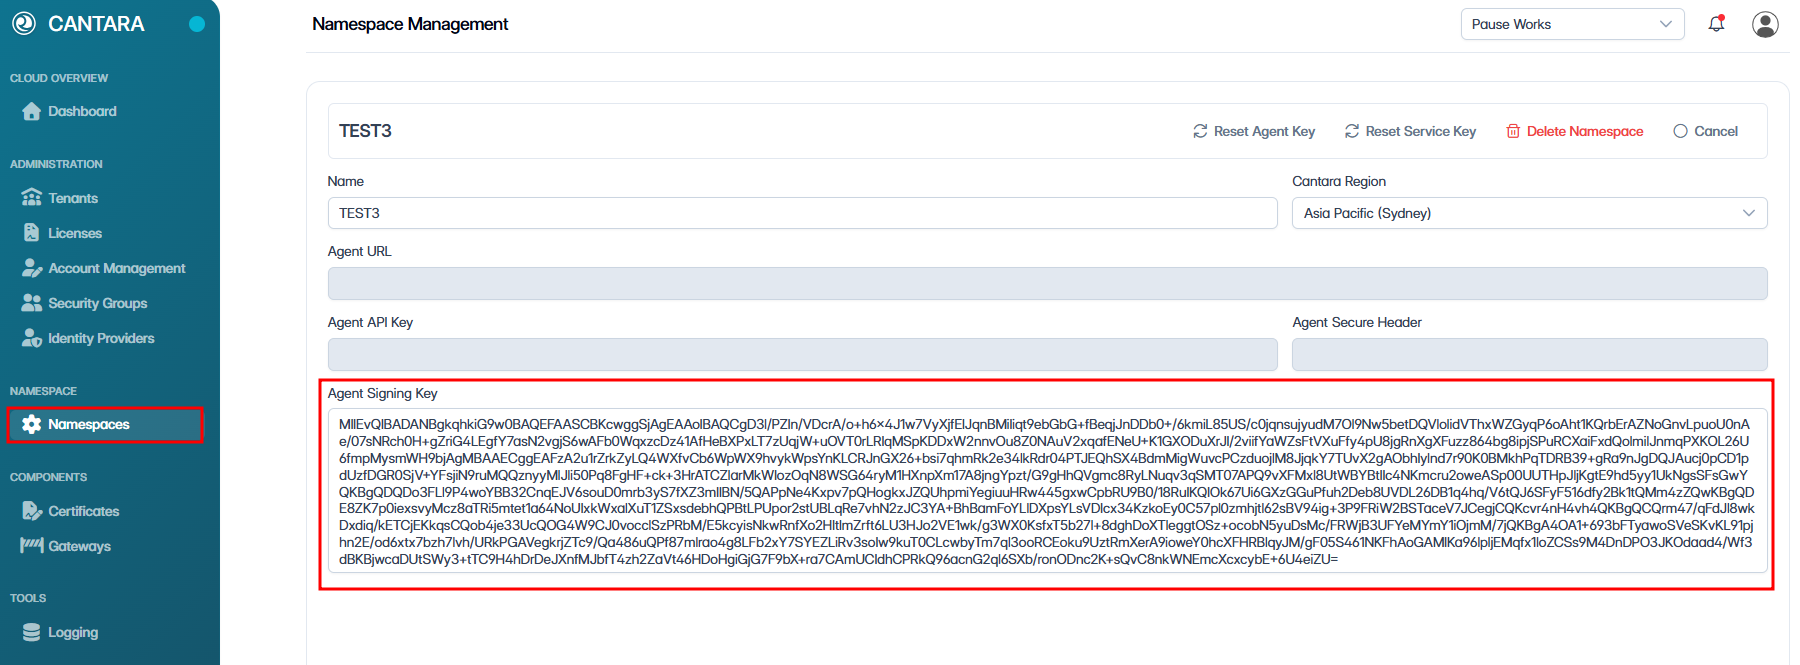
Click Save.
-
Copy and securely store the Agent Signing Key.
NOTE: This key is only displayed once and cannot be retrieved. If lost, you must generate a new key.
Outcome
The namespace is created and now appears in the list of existing namespaces on the Namespace Management screen.
What’s next?
Once you have created a namespace, the next step is to understand gateways. For more information, see Gateway Setup.