Initial Platform Configuration
After installing Cantara Integration Platform, use the following procedure to complete the platform initialization.
- Browse to your Administration Console Server:
For example: https://<your Administration Console server>/console
The tenant definition screen is displayed.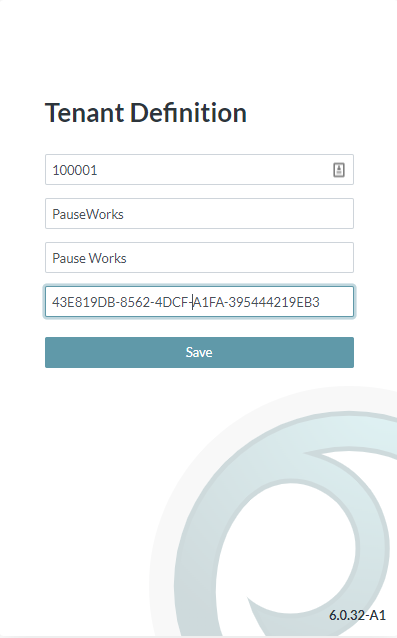
- Enter your Tenant ID, Name, Display Name and API Key.
Click Save.
The login screen is displayed.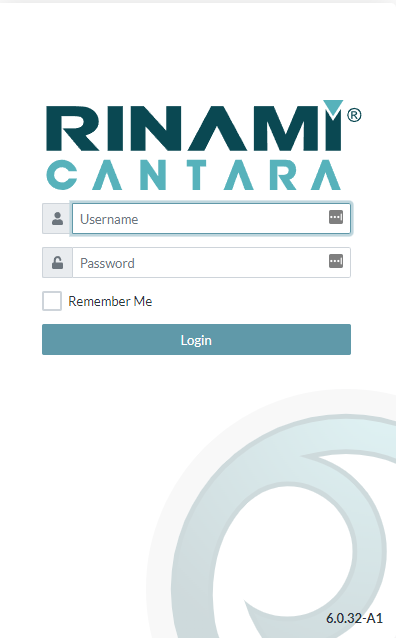
- Since no users have been configured at this stage, enter admin/admin for the login credentials.
Click Login.
The Add Farm screen is displayed.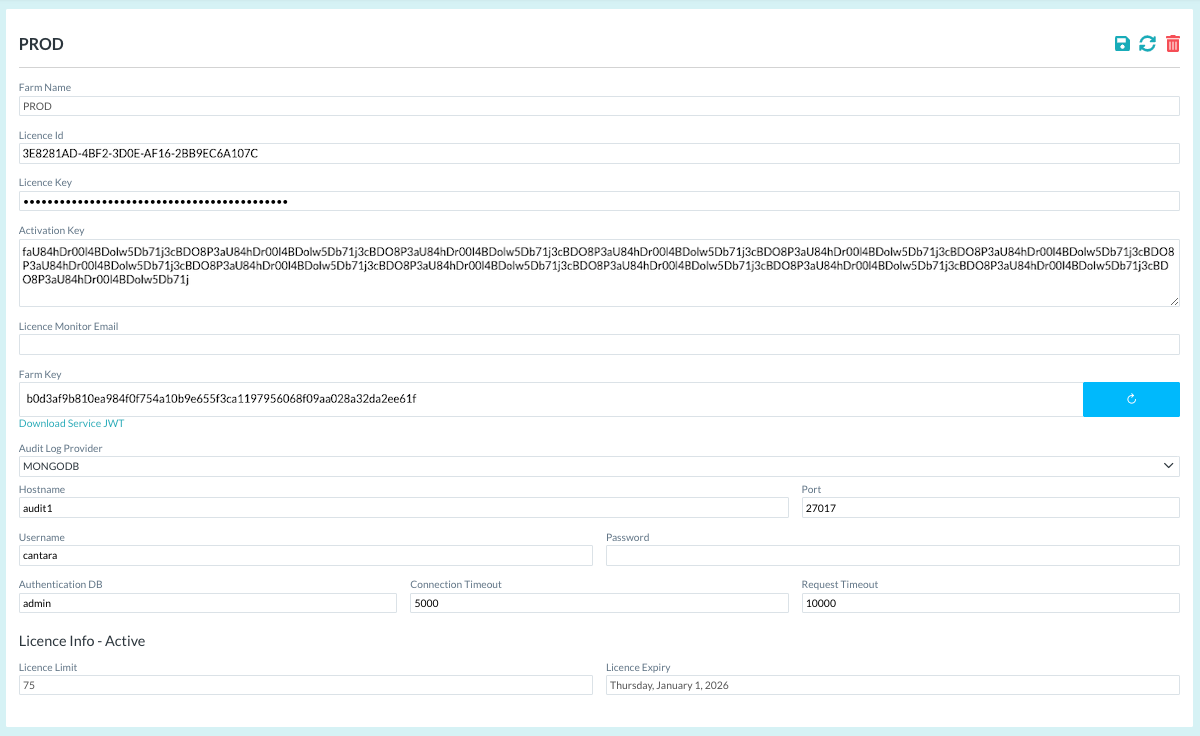
- Enter a Name for your Farm.
Enter your allocated License Id and License Key, obtained from the Rinami Portal.
- You can also select an Audit Log Provider and provide access details.
Click the Save button at the top right of the screen.
"License Info - Active" should be displayed at the bottom of the screen, and the navigation panel menu is displayed.
Note
If "License Info - No License Defined" is displayed, check your License details and ensure that the Administration Console has network access to the Rinami Portal.
- You can add another Farm by selecting Create Farm from the drop-down list at the top of the screen, and entering new details.
For each farm, you will need to configure Access Servers and create the required Environments.
The following steps describe how to configure those items. - Click on the Access Servers node of the navigation panel, to add an Access Server.
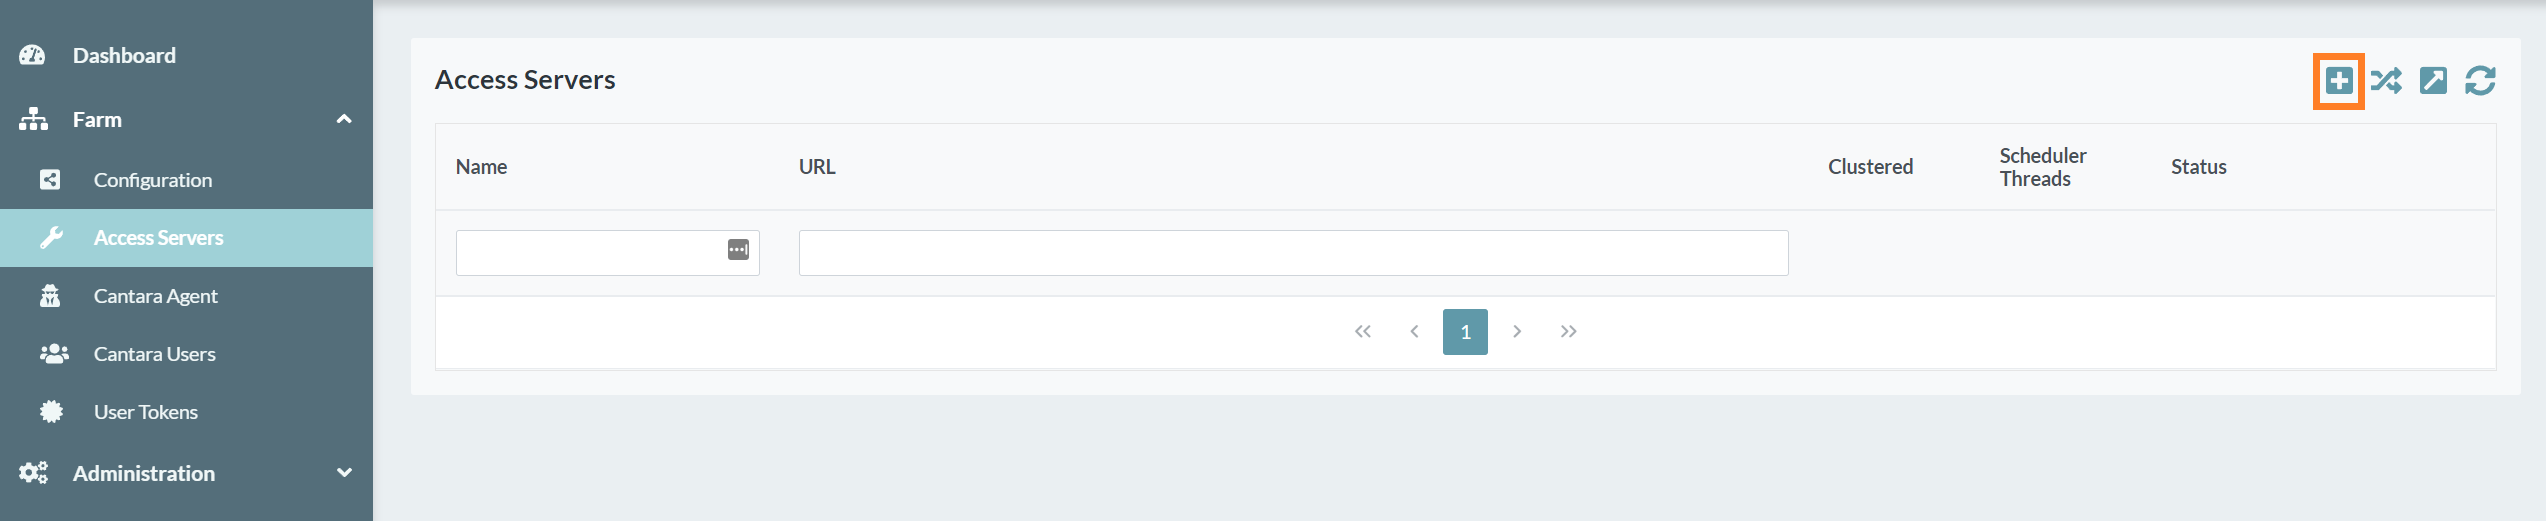
- Click the Add button at the top right of the screen.
The Add Access Server screen is displayed.
- Enter the Access Server Name and URL.
- Click the Save button.
- Select the new Access Server. The Access Server Scheduler Controls are displayed.
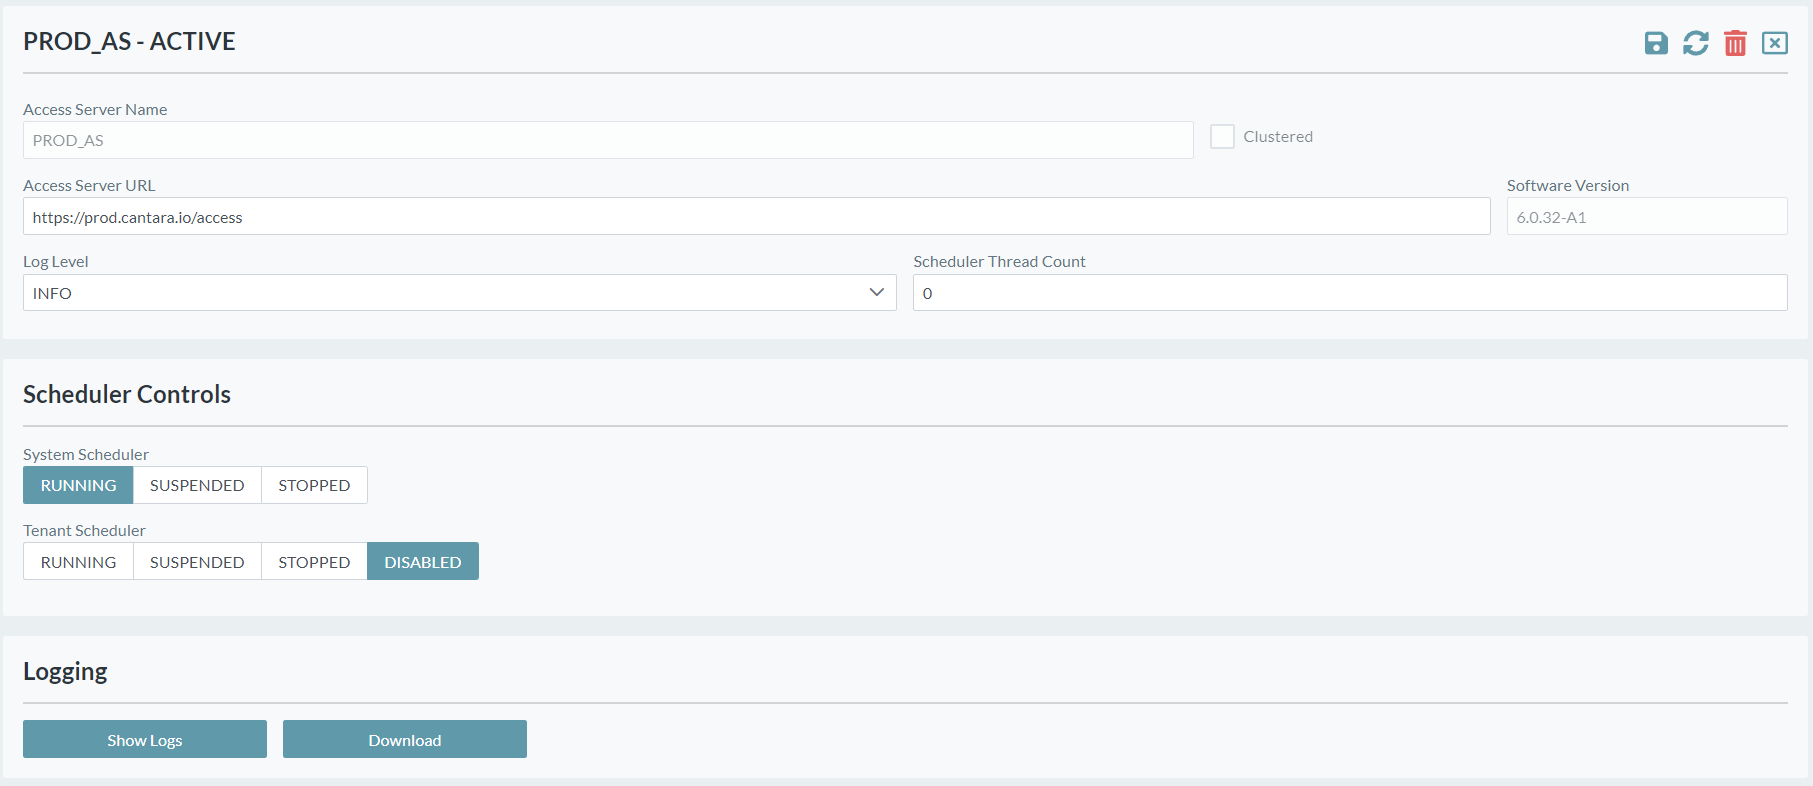
The navigation panel has also updated to include the Components, Scheduler and Tools menus.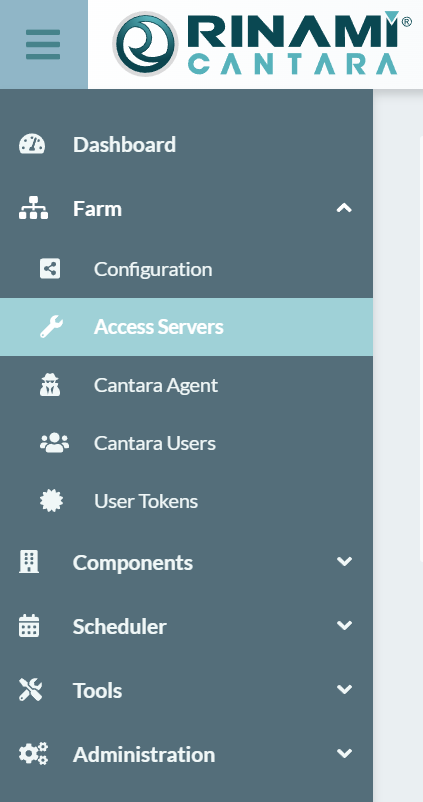
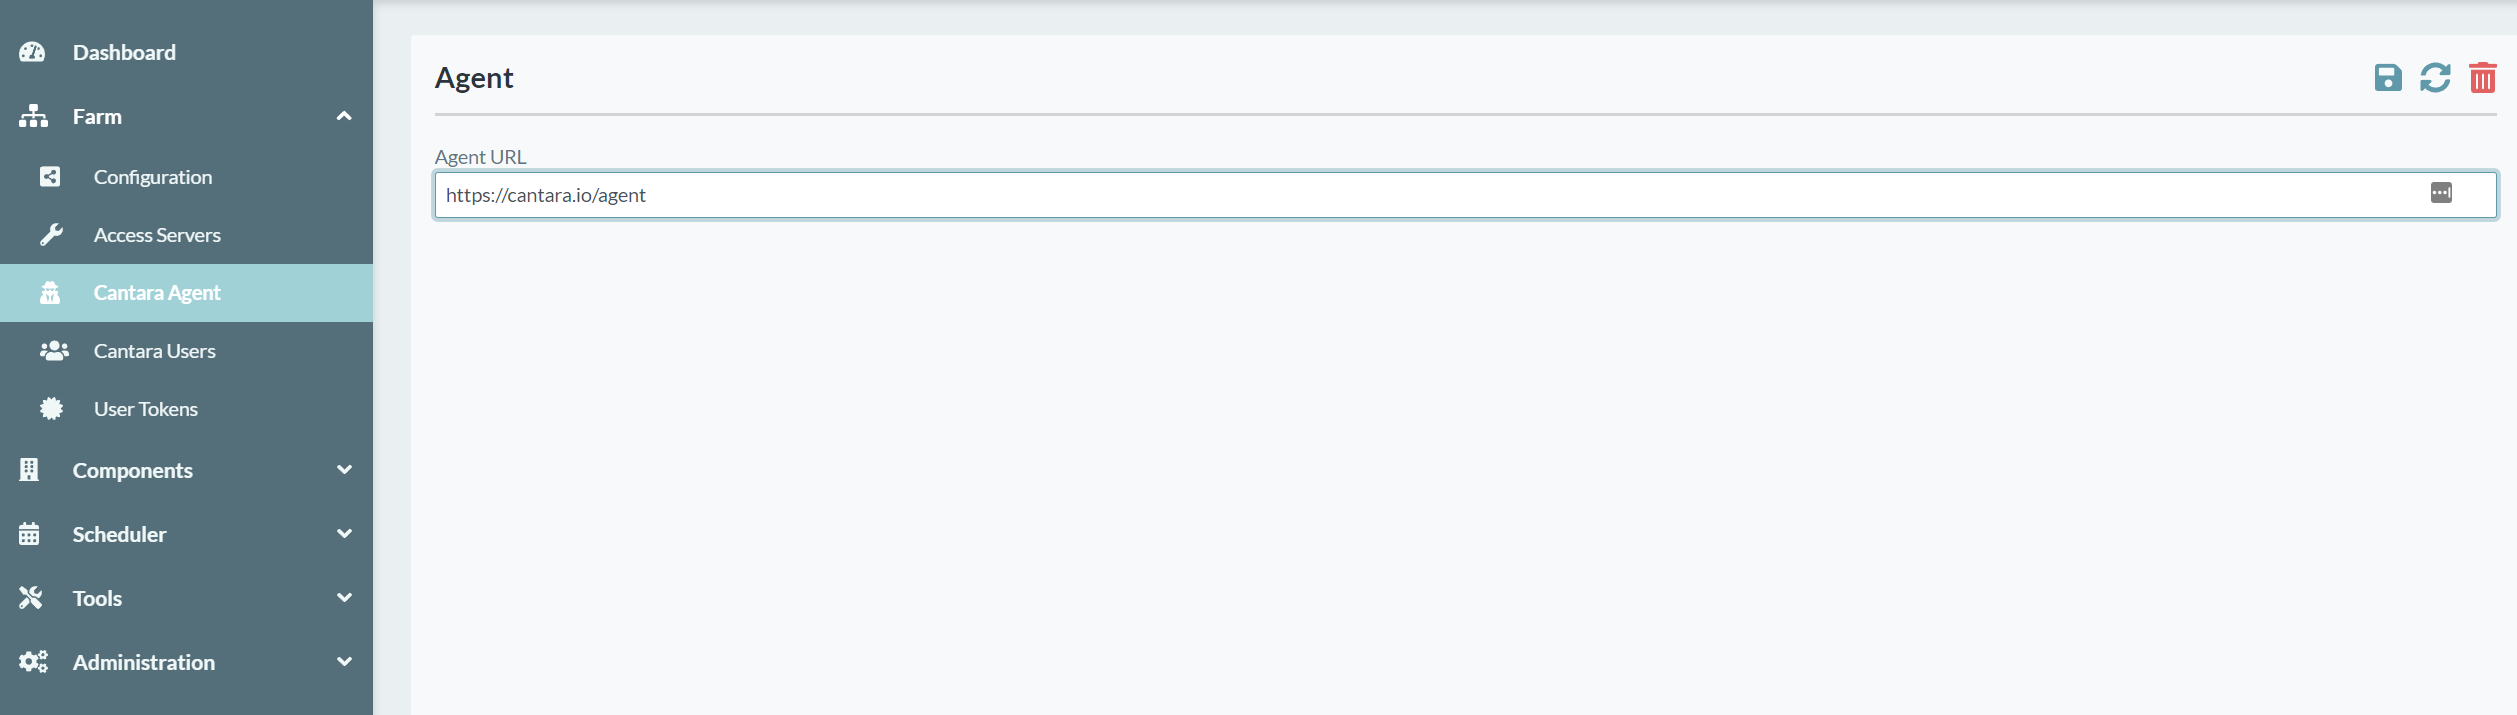
- If your deployment includes a Cantara Agent server, click on the Cantara Agent node of the navigation panel.
- Configure the Agent URL and click the Save button.
- Click on the Components node of the navigation panel and select Environments.
- Click the Add button to configure a Cantara environment.
The Add Environment screen is displayed.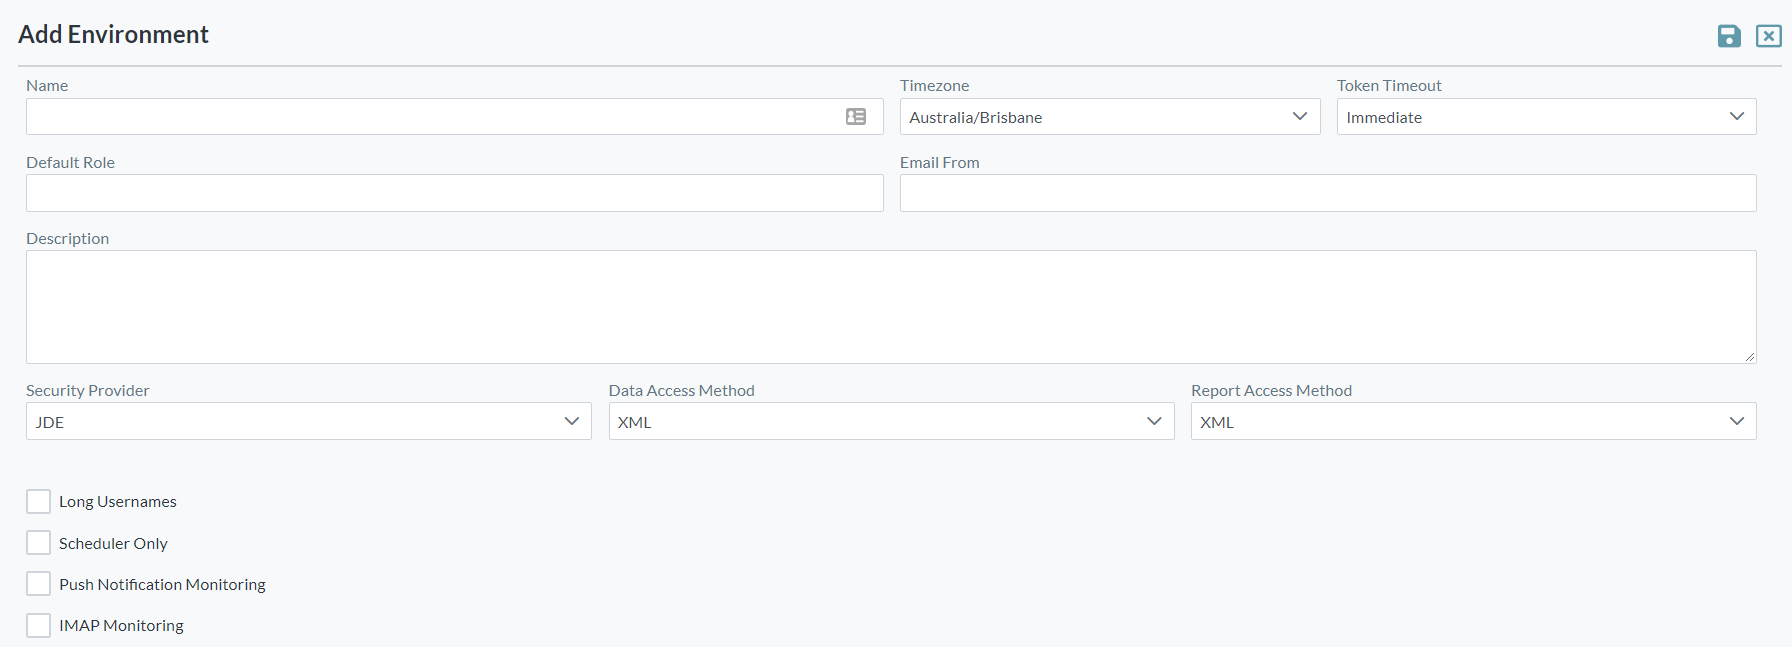
- Enter a Name for your new Cantara environment, and the access details for your JDE instance.
For information about the available configuration options for environments, refer to Defining an Environment. - Once your environment has been configured, click the Save button.
The Components menu now contains all component types.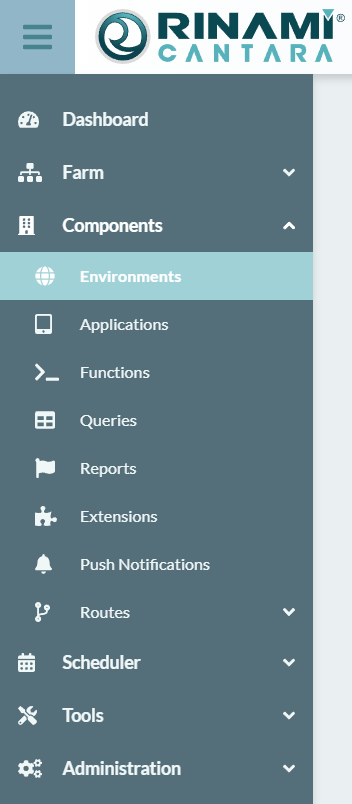
- Select the Functions node from the navigation panel.
The JDE Login screen is displayed.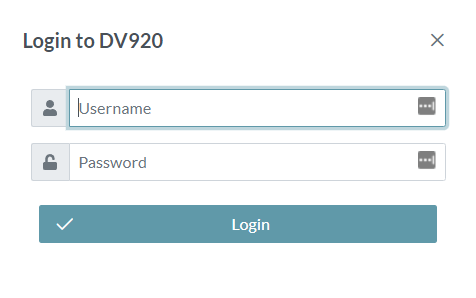
Enter your JDE login credentials and click Login.
Open the Administration node in the navigation panel, and select Console Users.
Click the Add button to create a new console user.
Enter the required Username, Password and User Role.Console Users
There must be at least one user configured with the ADMIN role.
Once a new ADMIN user has been created, the original admin/admin login that you used to begin the initial platform configuration process will be automatically removed.
- Click the Save button.
Further Information
For a complete guide to configuration of the Cantara Integration Platform features, refer to the Cantara Configuration Guide.