Creating a Map
A map enables control of the file routing based on metadata provided in the service definition or service request. An example would be to map parameter values to a printer name or file path.
Creating Maps
To create a map
- Open the Components menu group in the navigation panel.
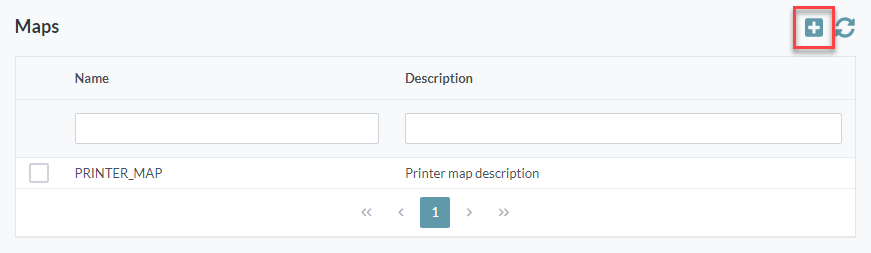
- Select the Routes node and then select Maps. A list of available maps is displayed:
- Click the Add button. The Add Map screen is displayed:
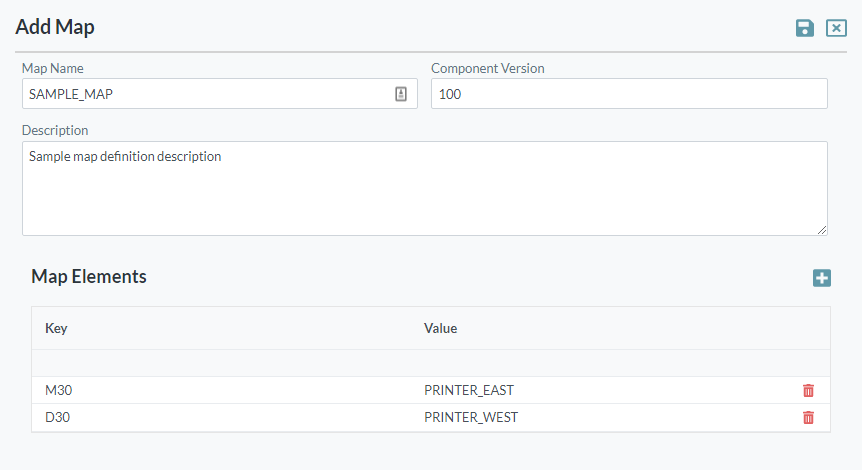
- Enter the following details:
- Map Name: The name you want to assign to the map. The value for this field can be a maximum of 40 characters (no spaces). Valid characters include numbers, letters, underscore (_) and dash (-).
- Enter the Component Version for the map.
- Description: Add a description for the new map.
- Click the Add Map Element button.
- Provide the Key for the map element, followed by the Value to be returned.
You can add as many elements as required in a single map. Each key must be unique and blanks are not allowed. - You can remove an element by clicking the Delete button on the appropriate row.
- Click the Save button. The map is added to the list of maps available.